Organizations
Organizations structures your account into projects and teams with fine-grained, role-based permissions, so you can separate environments and control who can see or change each resource.
When to use it
Use Organizations to model your company: split prod from staging, give teams scoped access, and keep an audit-friendly boundary around each project.
Concepts
| Concept | What it is |
|---|---|
| Organization | Your company account — owns everything below. Has an Org ID and a plan. |
| Member | A person in the organization, with an org role (Owner / Member / …). |
| Team | A named group of people you grant shared access to projects. |
| Project | A workspace that groups teams and resources, with its own access control. |
Open the console from Services → Management → Organizations (or the Account → Organization shortcut). The left navigation groups the pages into Organization (Overview, Activity), People (Members) and Workspaces (Teams, Projects).
Overview
The dashboard for your organization.
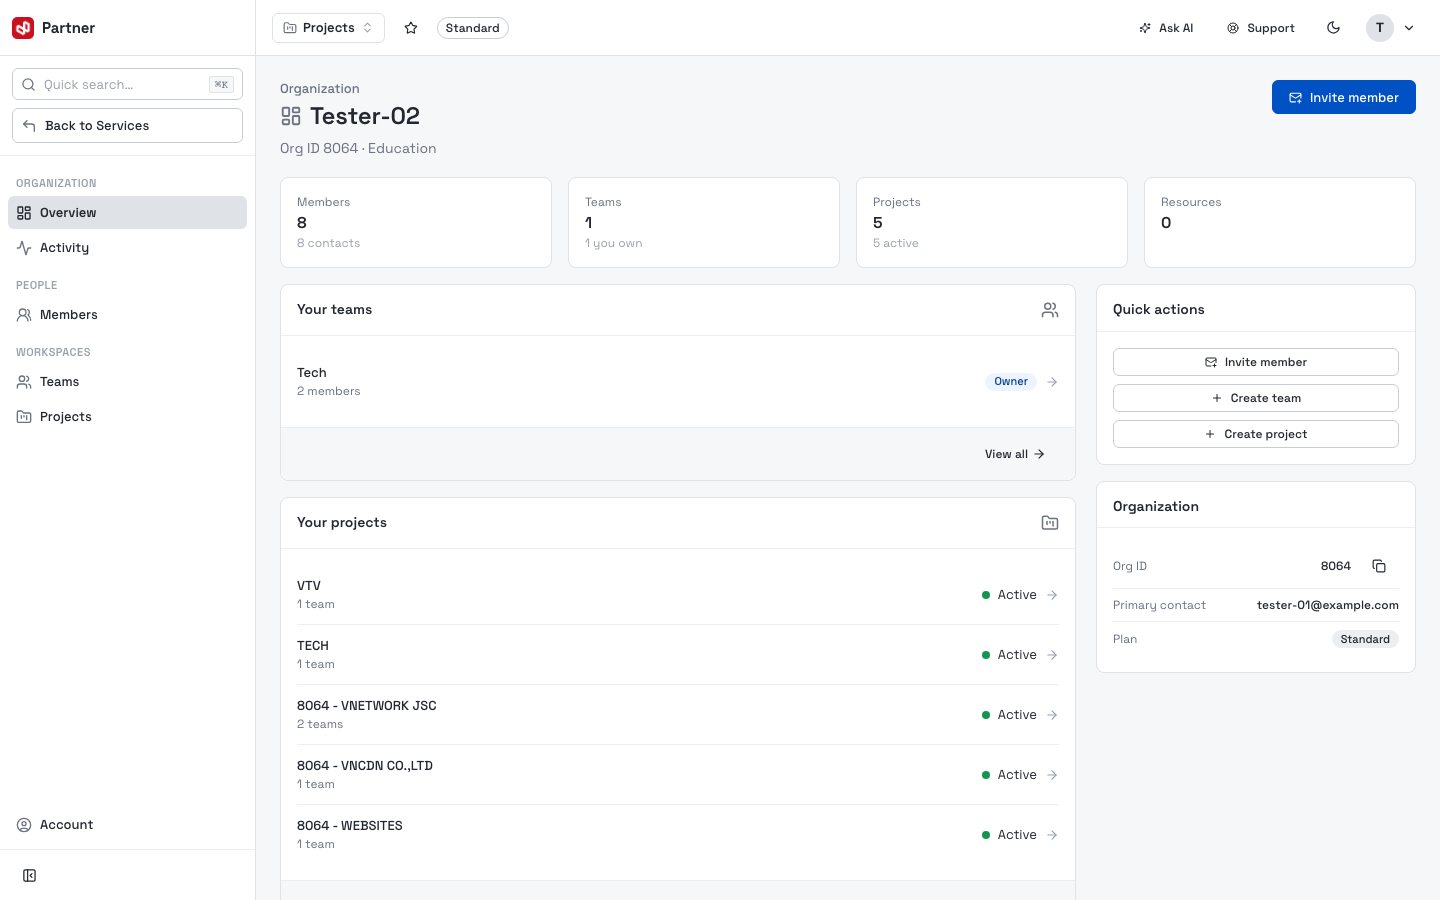
- Headline cards: Members, Teams, Projects, Resources.
- Your teams and Your projects lists with your role on each and an Active status.
- Quick actions — Invite member, Create team, Create project.
- Organization panel — Org ID, Primary contact, and Plan.
Members
Everyone in your organization — manage their access and accounts.
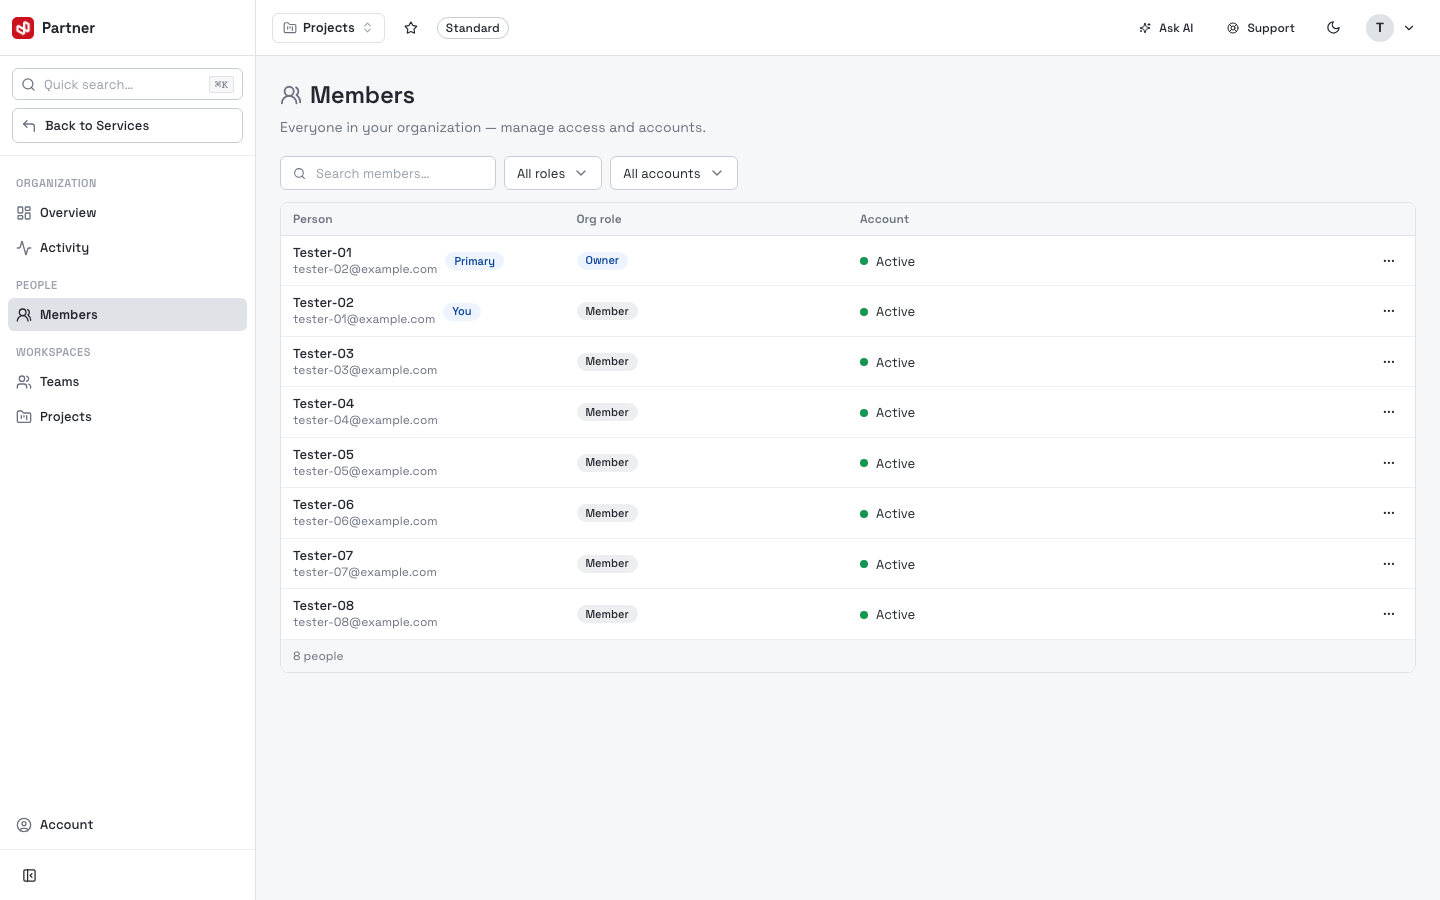
The table lists each Person (name + email), their Org role (Owner / Member — the Owner is marked, and your own row shows You), and Account status (Active). Search by name and filter by role or account.
-
Invite member (top right) opens an invite form — enter the person's email and role to send them an invitation.
-
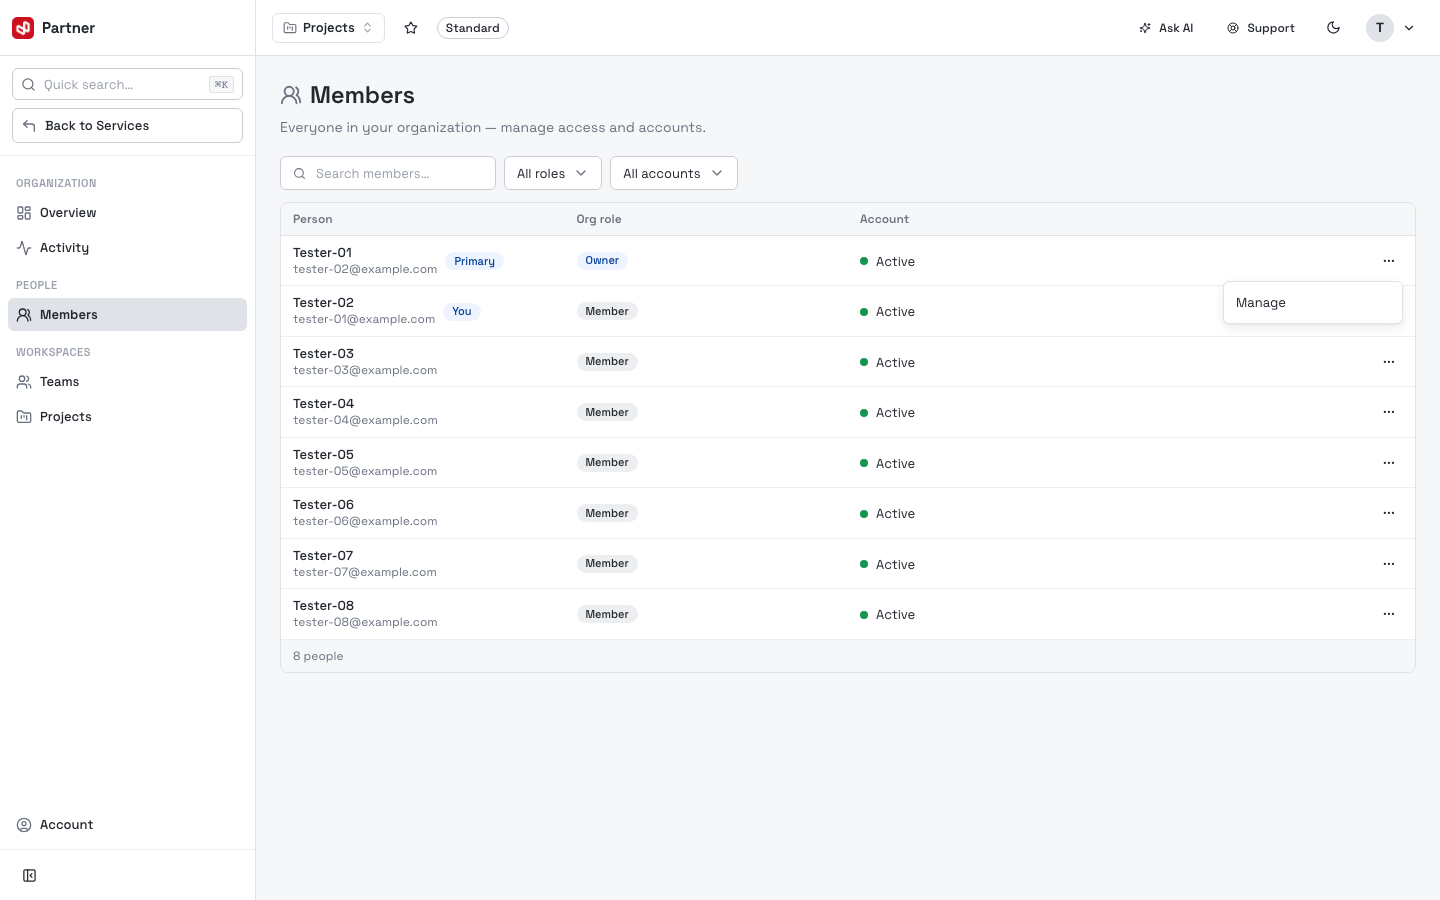
Each row's … menu has Manage to change a member's role or access.
Teams
Group people, manage their roles, and share access across projects.
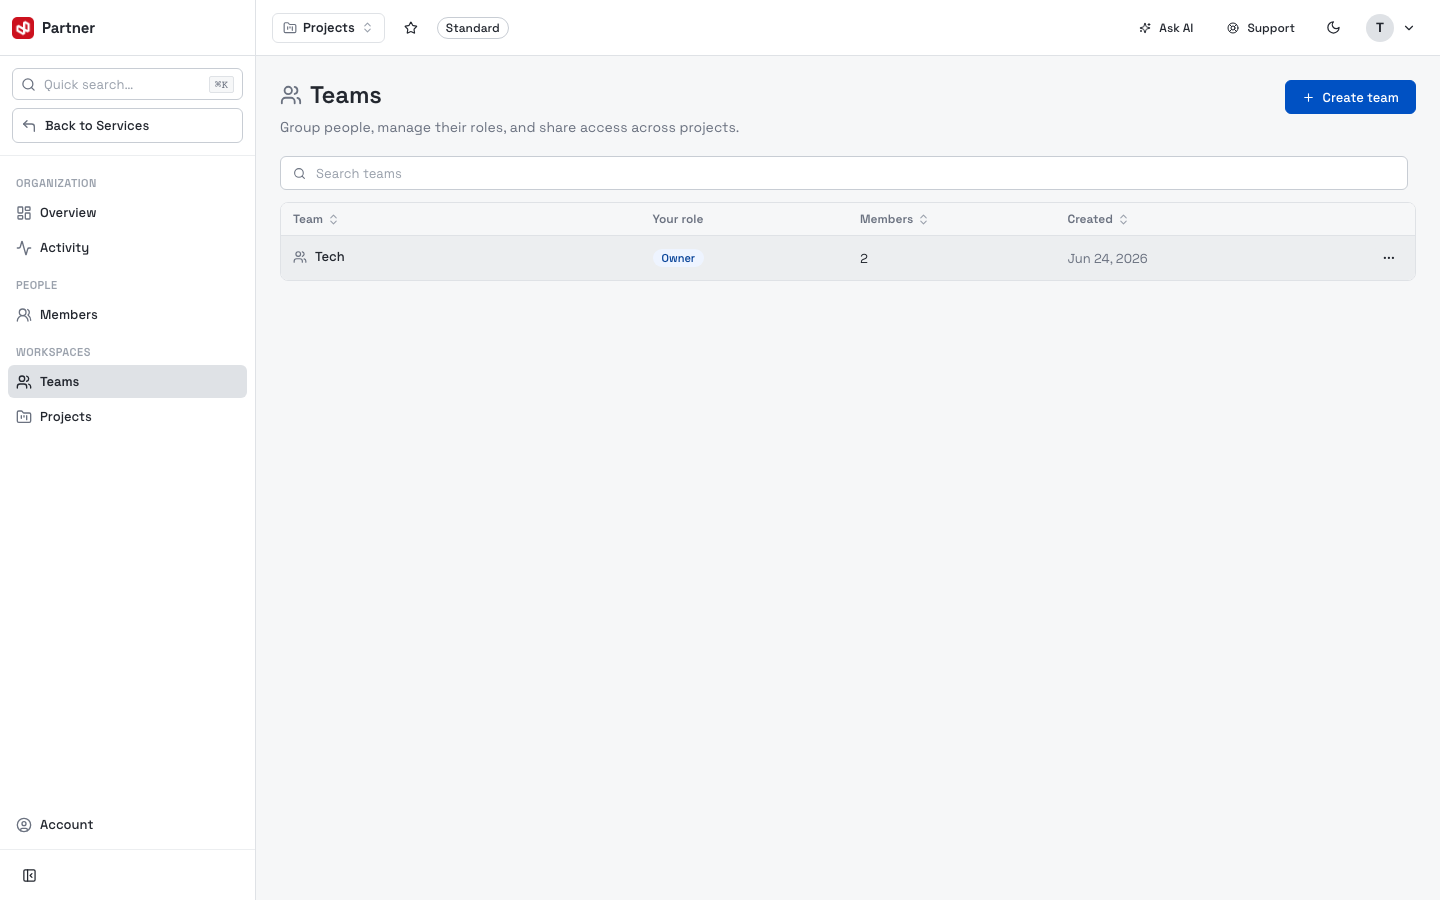
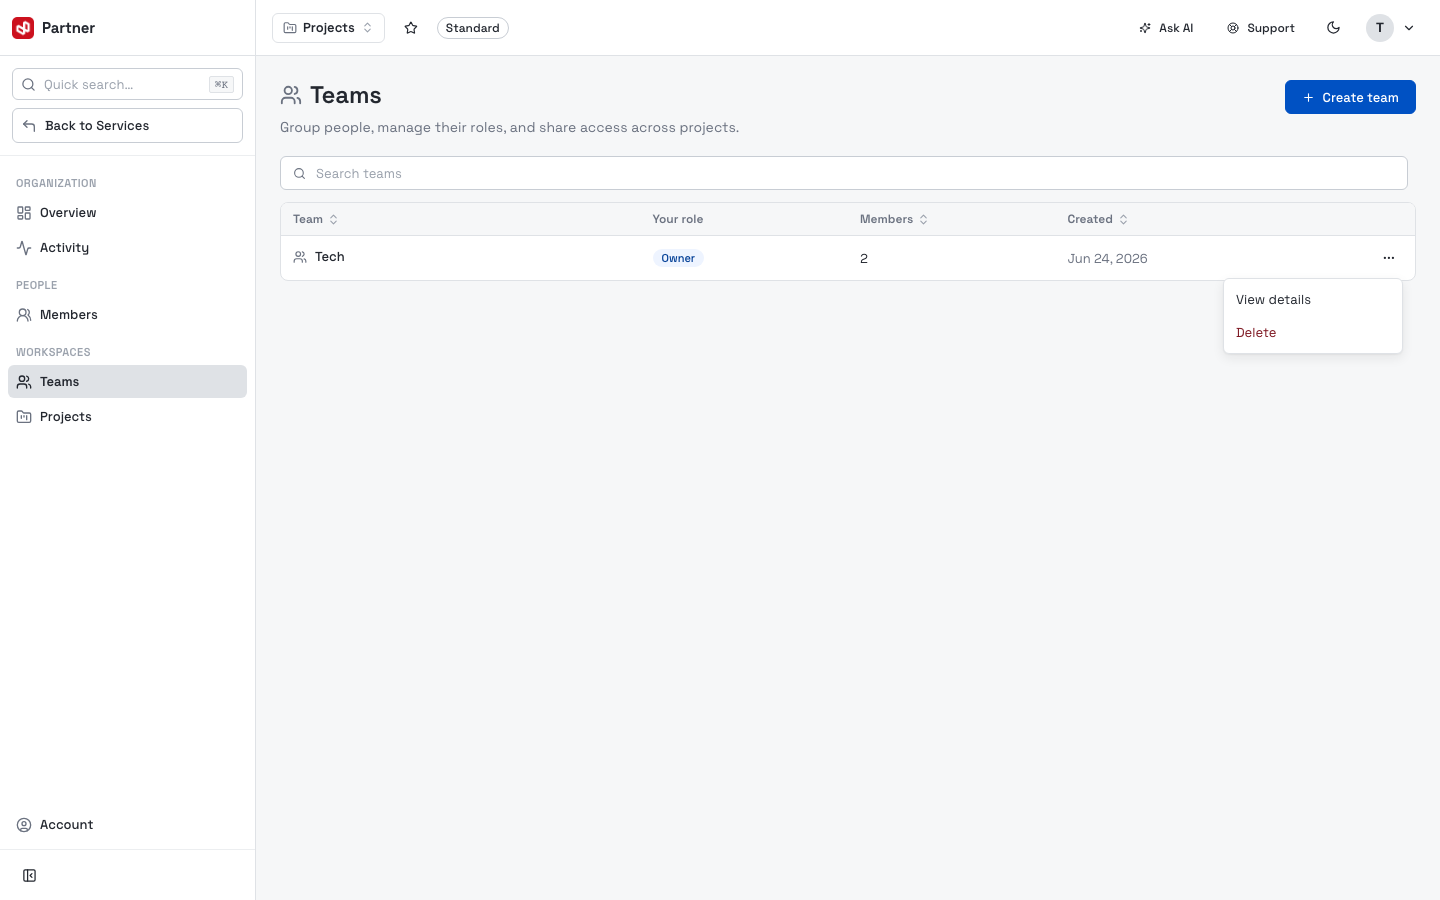
The table shows each Team, Your role, Members count and Created date. Click Create team:
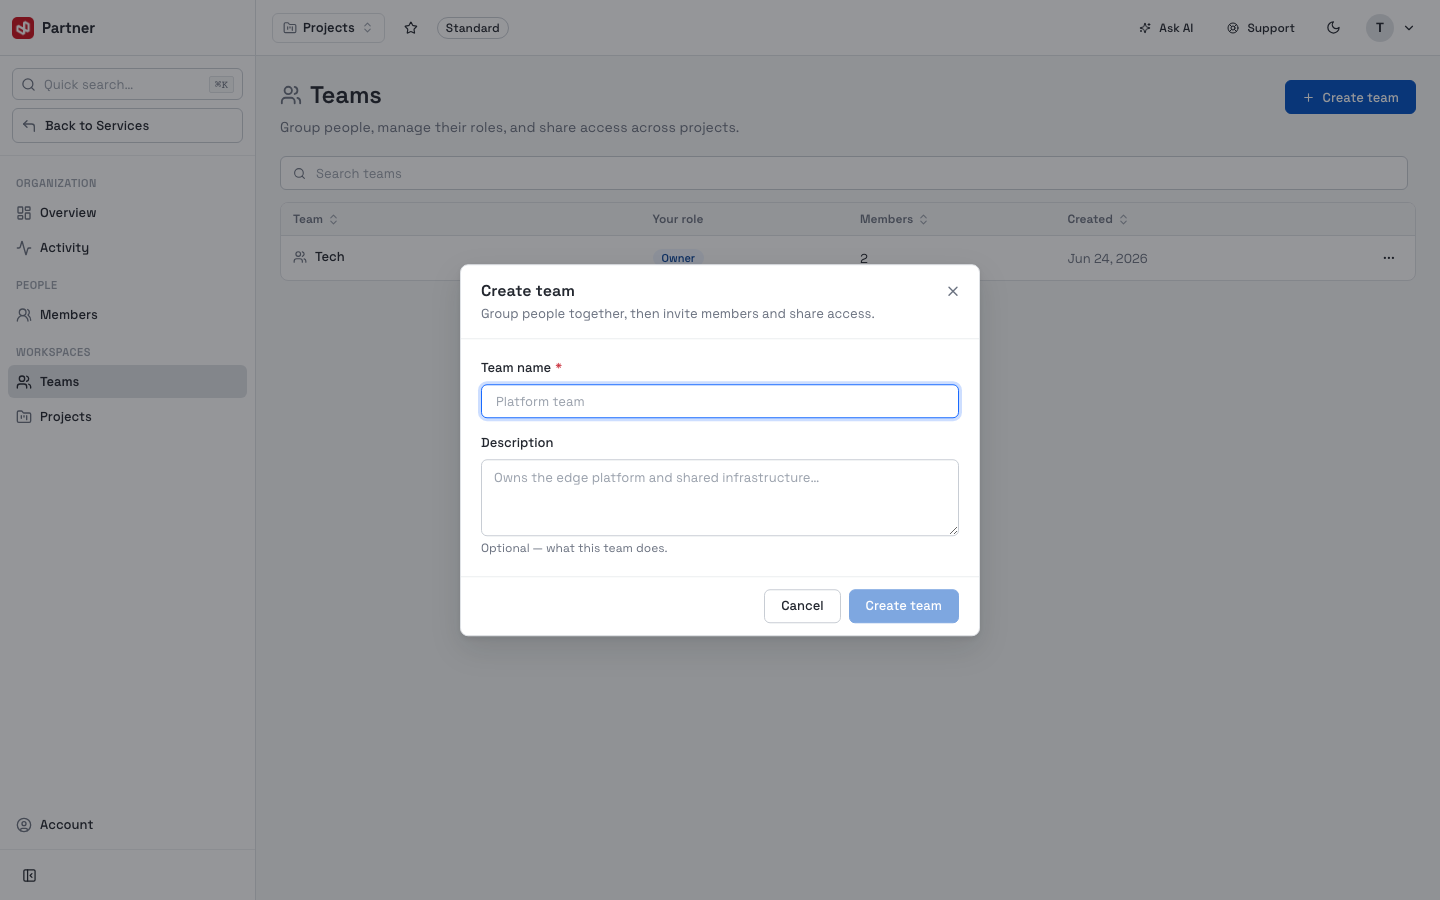
Give the team a Team name and an optional Description, then Create team — you can invite members and share project access afterwards. Each team row's … menu manages or removes it.
Projects
Group teams and resources, and control who can access them.
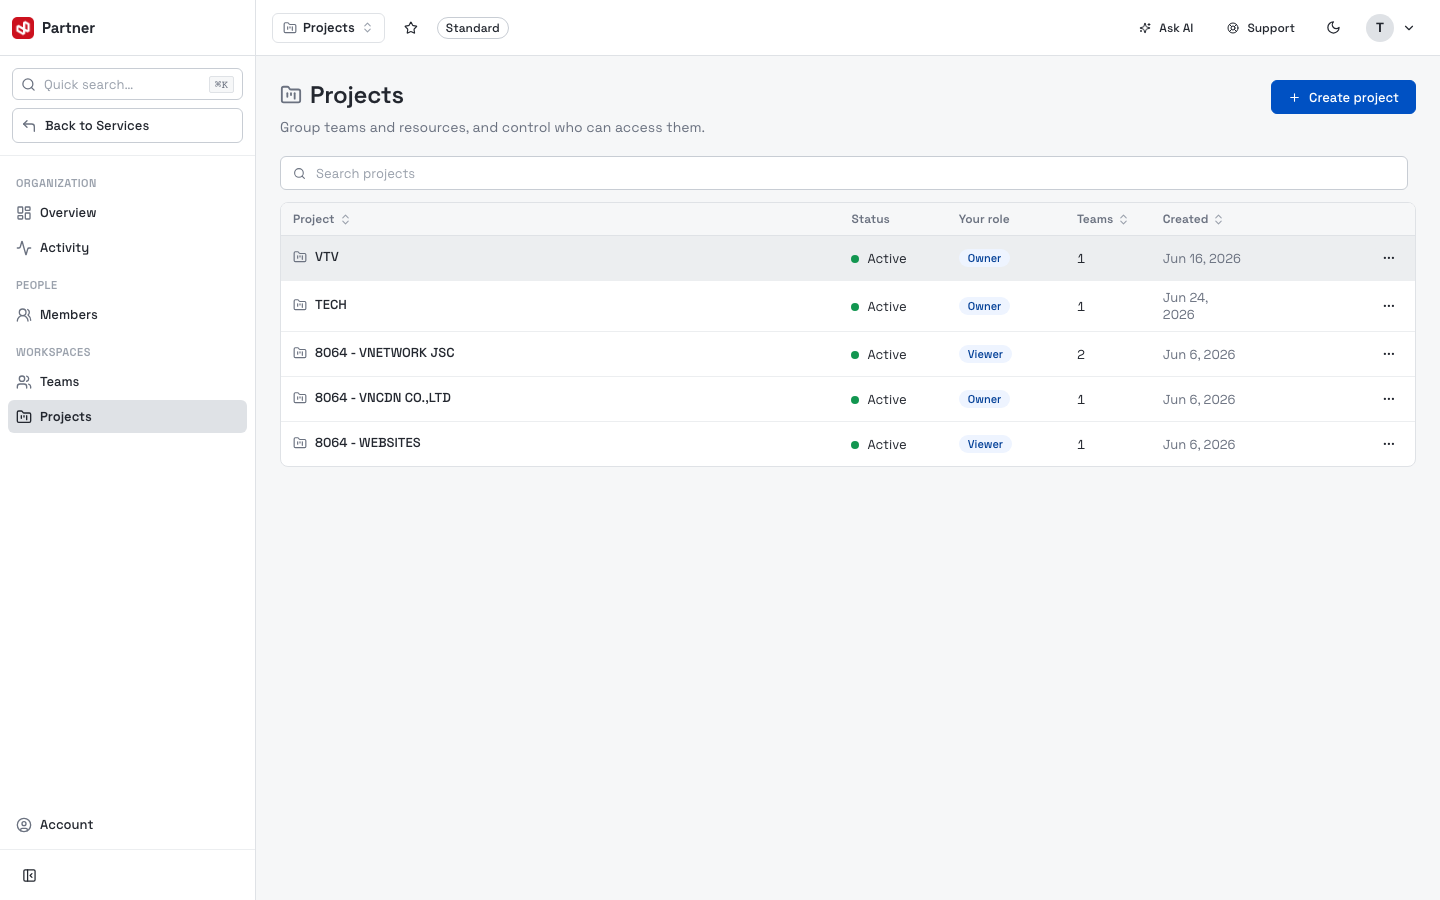
The table shows each Project, your role, Teams count and Created date. Click Create project:
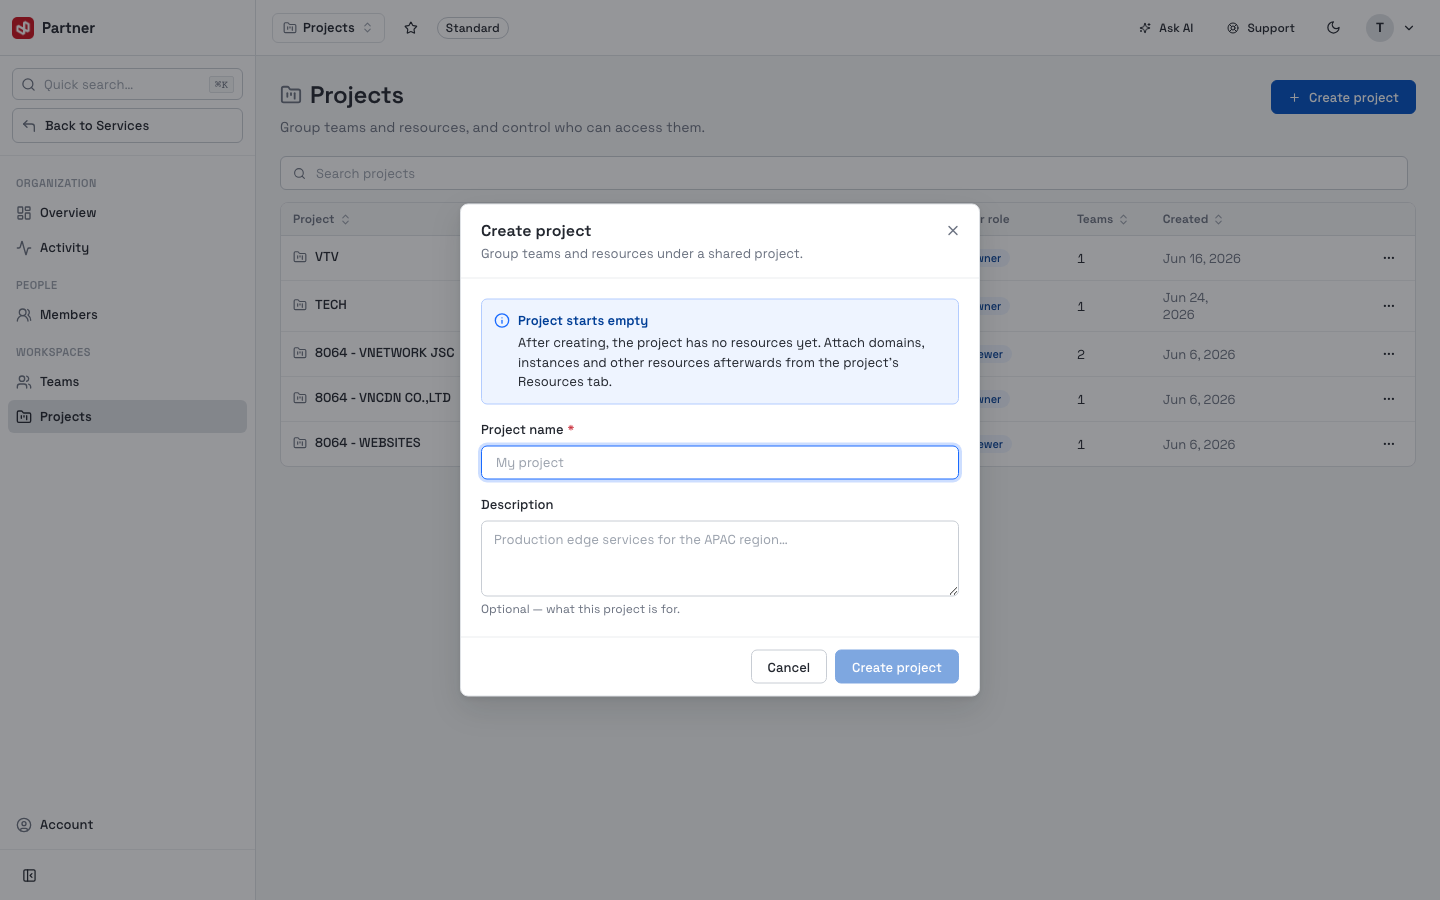
A project starts empty — give it a name and optional description, then attach domains, instances and other resources afterwards from the project's Resources tab. Each project row's … menu manages or removes it.
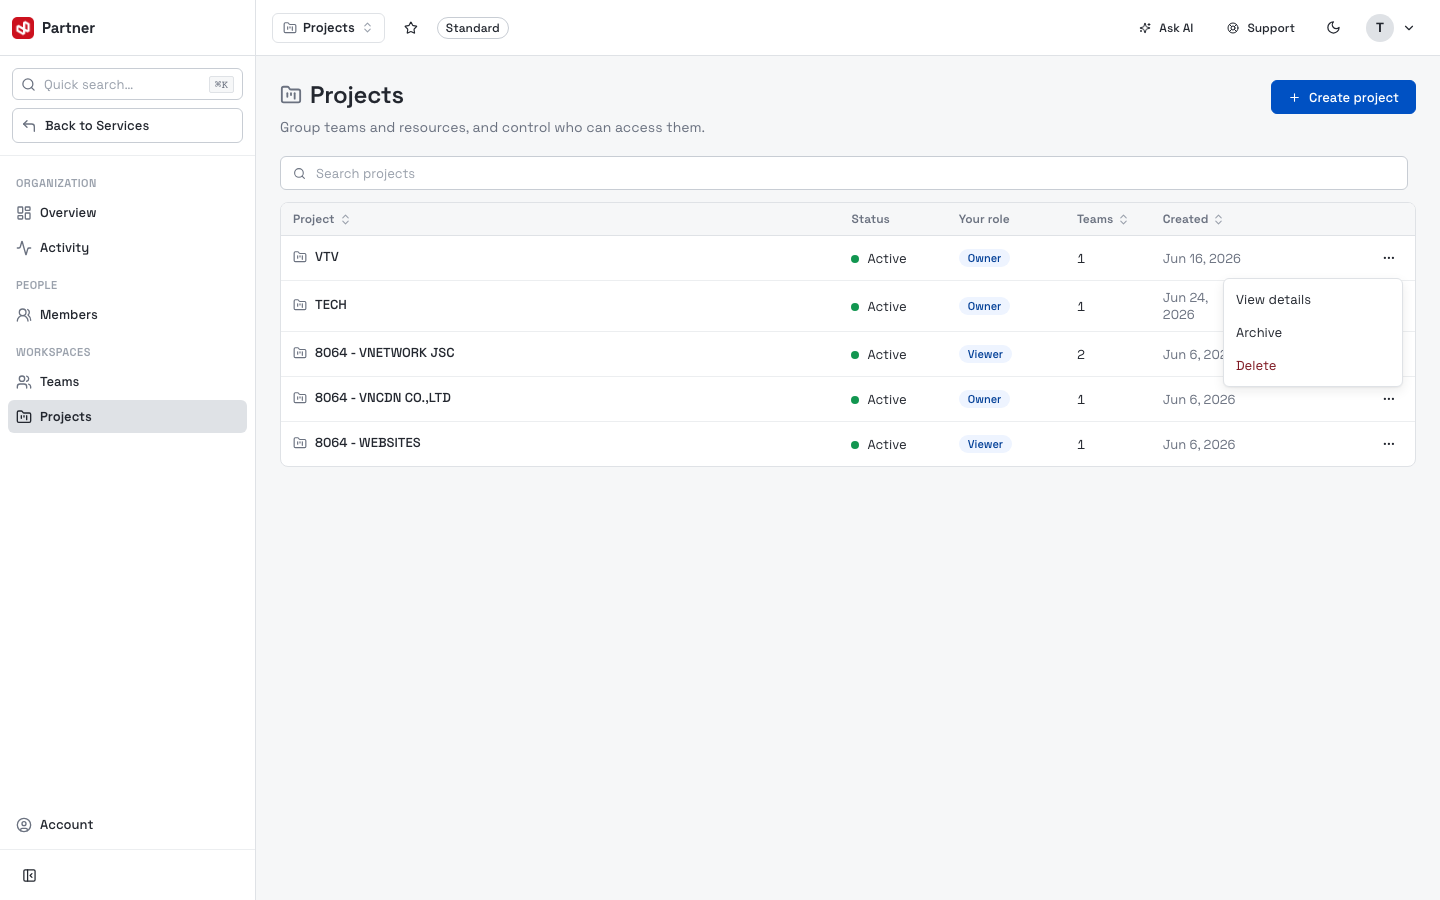
Projects are the boundary most services provision into — the project selected in the portal header is where a new service activation lands. Decide your project layout before activating services.
Activity
An audit log of what happened in the organization.
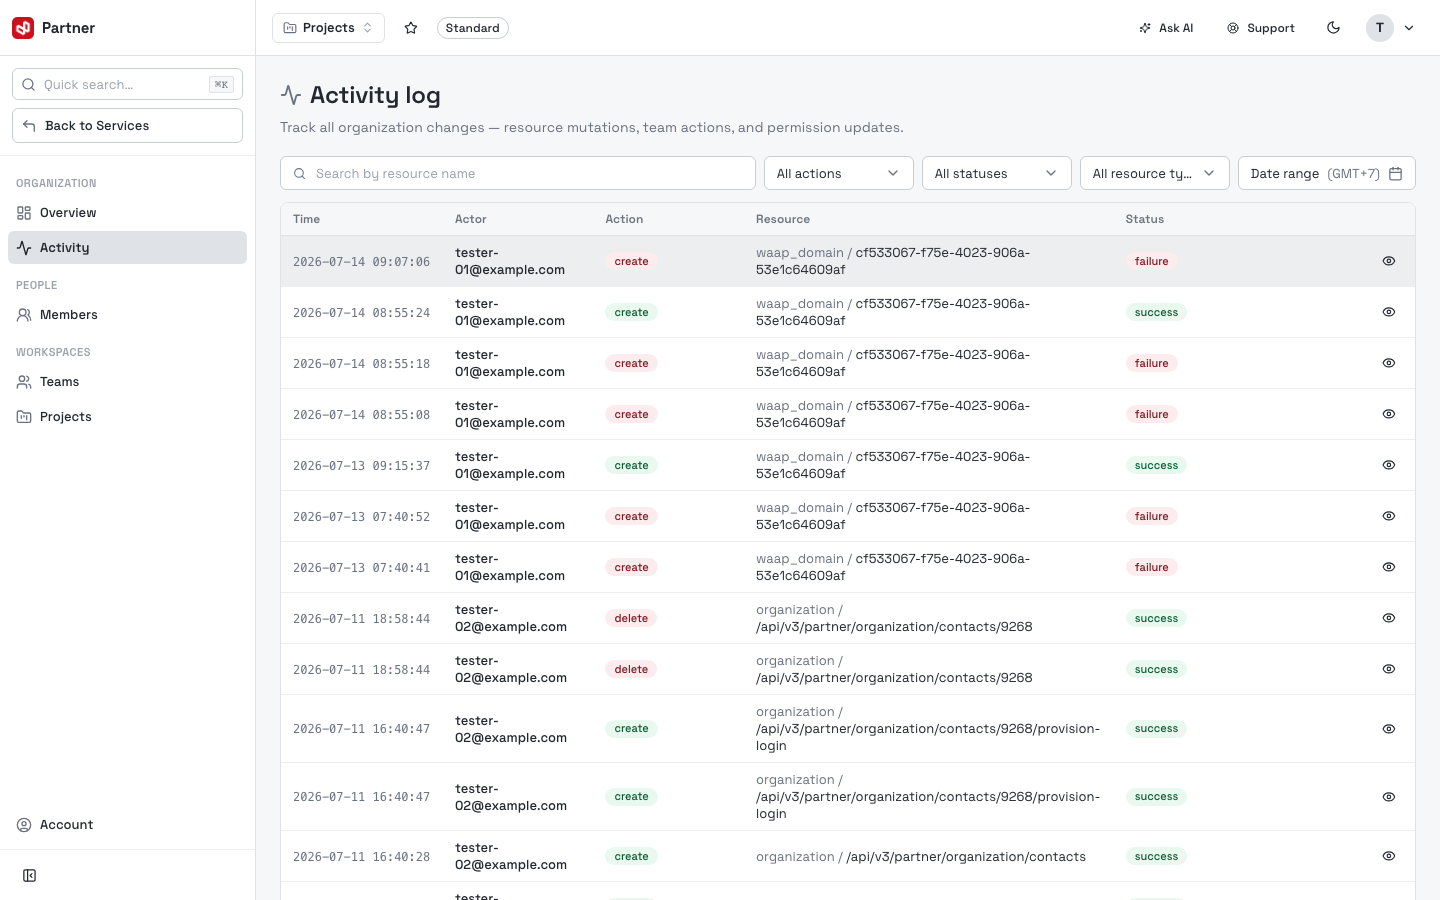
Each entry records the action, who performed it and when — use it to review membership, role and resource changes. Each row's … menu opens the entry's detail.
Sub-customers & Admins
Two further tabs support reseller and delegated-admin setups. They appear only when your account is enabled for them (a standard organization won't see these):
- Sub-customers — organizations you manage on behalf of downstream customers.
- Admins — accounts with administrative access across the organization.
Both list their entries with a create/invite action and per-row management, following the same pattern as Members and Teams above.